

2PCS New Rainproof Film Sticker Car Rearview Mirror Protective Rain Proof Anti Fog Waterproof Sticker Window Transparent Sticker
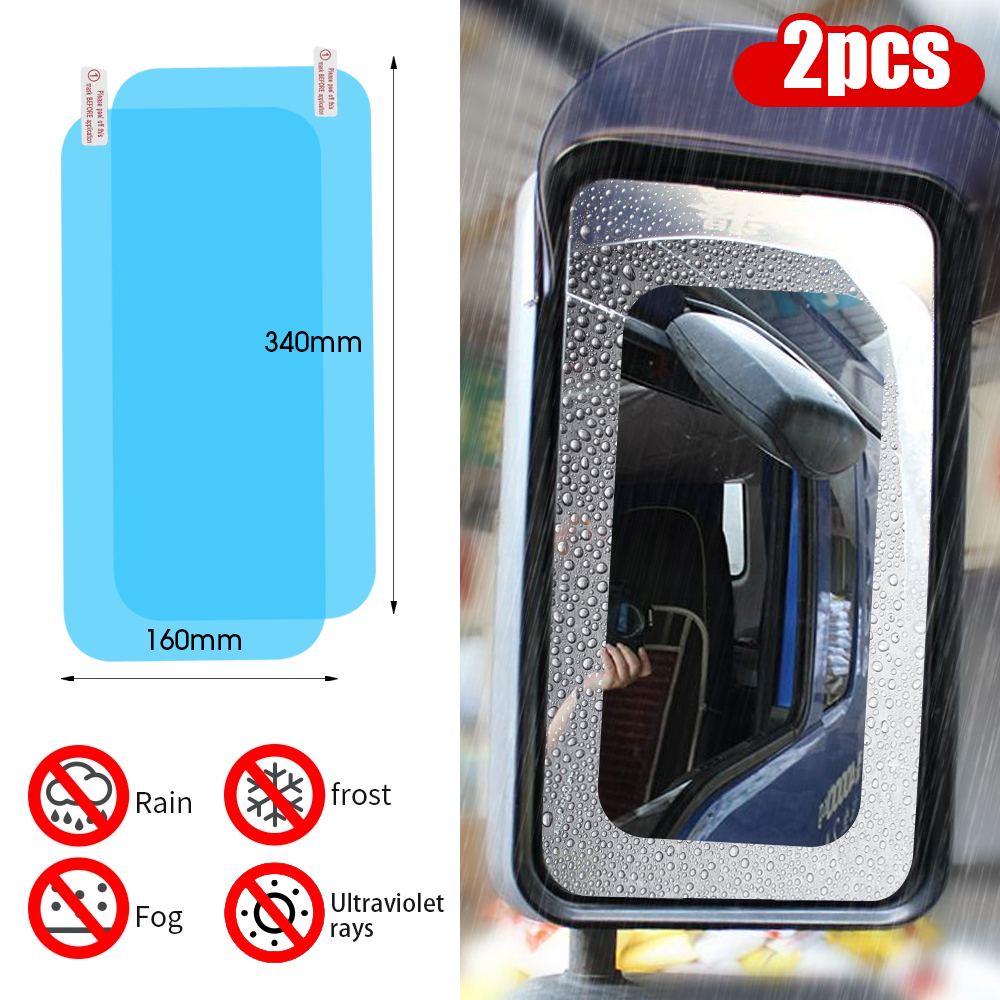
2PCS 160X200mm
Sale price
$5.95
Regular price
$10.95
Skip to product information


SPECIFICATIONS
Anti Fog: Rainproof Film
Applicable models: most vehicle models
Brand Name: RaiKni
Choice: yes
Dropshopping: Drop shipping
External Testing Certification: ce
Features 1: Clean your rearview mirror
Features 2: Film the screen
Features 3: Auto Replacement Parts Film
Features 4: Automobiles Accessories Film
High-concerned chemical: None
Included: 2/4/8 X Waterproof Films
Item Diameter: 8cm
Item Height: 8cm
Item Length: 8cm
Item Type: Mirror & Covers
Item Weight: 25g
Item Width: 8cm
Material: PET+ micro-nano coating
Model Name: Car Rearview Mirror Film
Model Year: 2022
OEM NO.: Mirror Film
Origin: Mainland China
Side rearview mirror: side window
Special Features: Waterproof Anti-Fog
semi_Choice: yes
Car Rainproof Film Anti Fog Car Sticker Car Mirror Window Clear Film Rain Proof Waterproof Film Auto Sticker Accessories

Description:
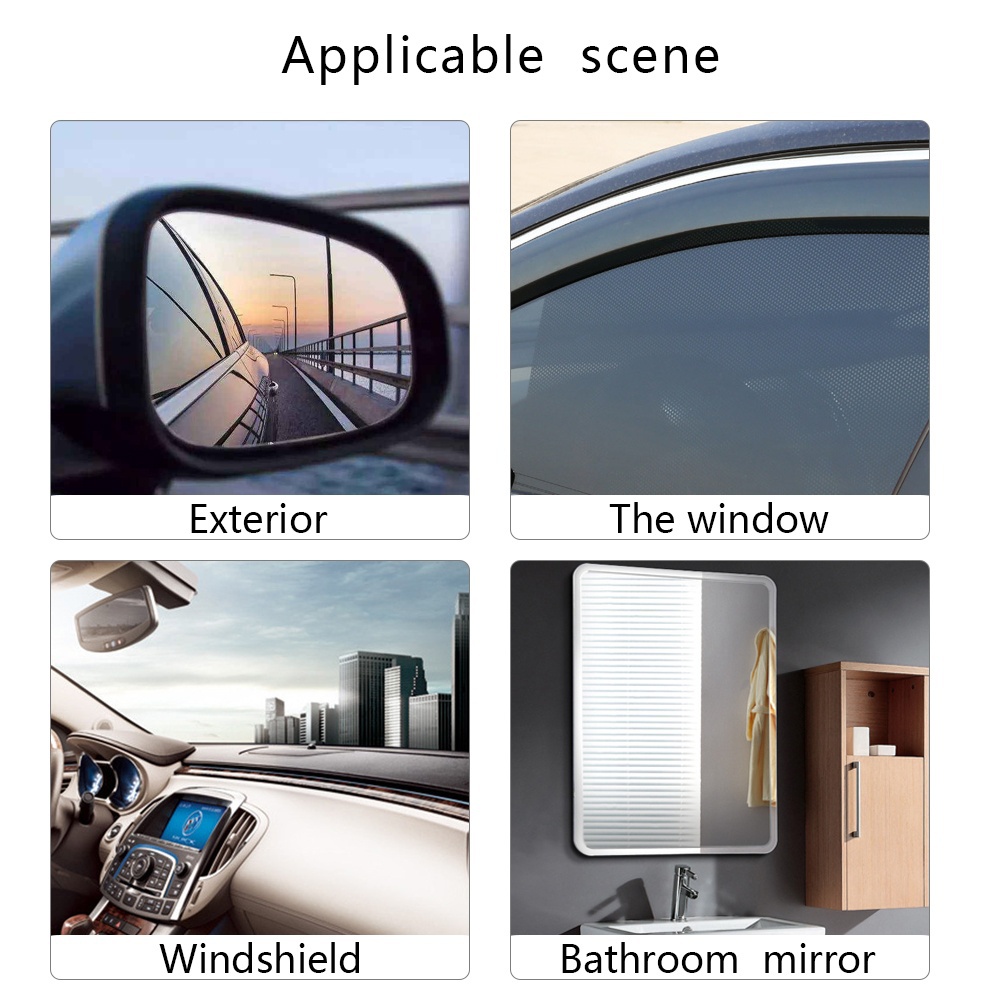
1.Universal designed Rearview Mirror Protective Film for Car, Suv, Truck, Trailer, etc., which fits all standard size of side mirrors.
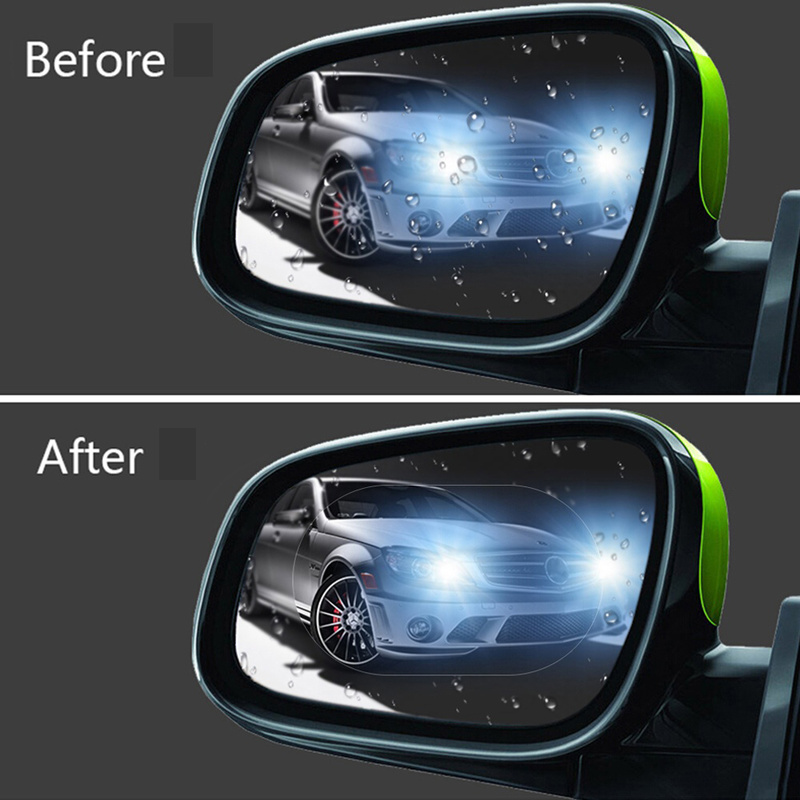
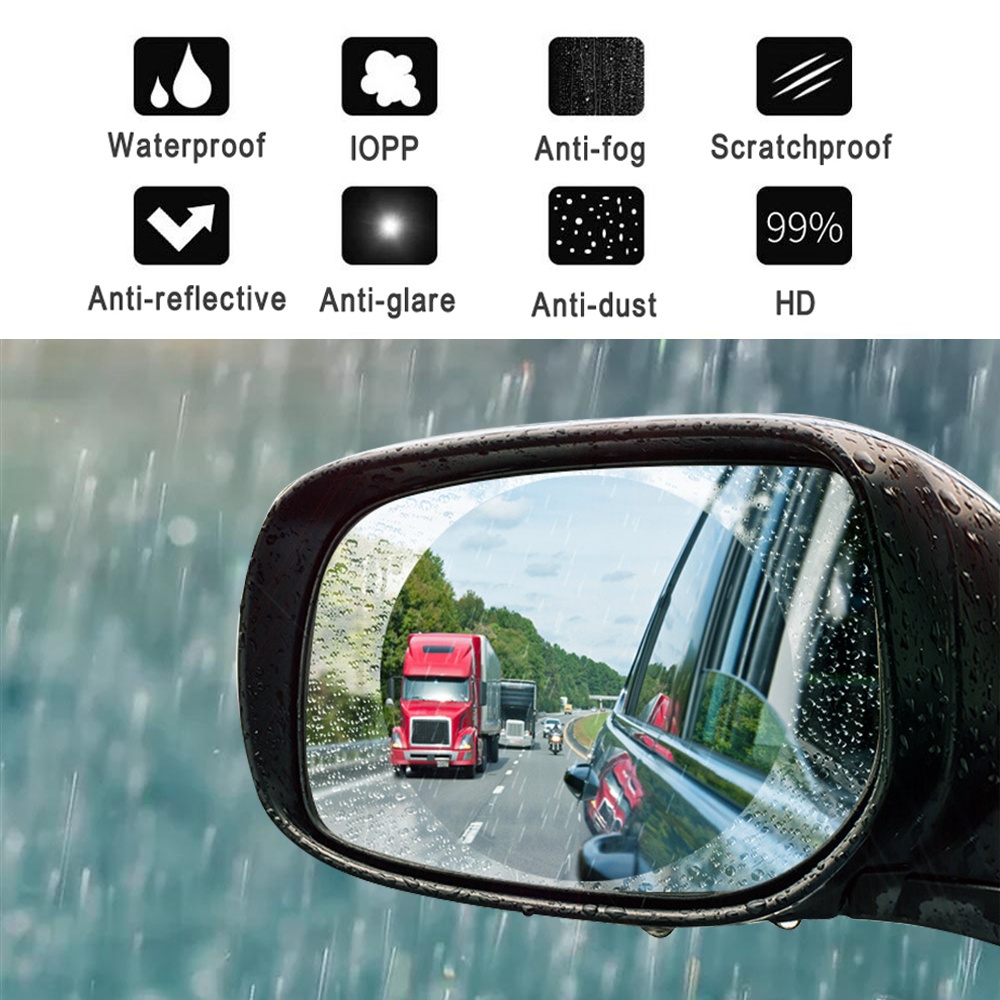
2.It could clarify the view area for averting possible danger, PET+Nano coating protective film with 99% transmittance, anti-fog, anti-glare, anti-mist, waterproof, rainproof.
3.Just take a few minutes to install it to your Rearview Mirror directly, squirt a little water on the mirror, install the protective film to the mirror and adhere it, then flatten it with a small scraper, quick and easy.
1.Universal designed Rearview Mirror Protective Film for Car, Suv, Truck, Trailer, etc., which fits all standard size of side mirrors.
2.It could clarify the view area for averting possible danger, PET+Nano coating protective film with 99% transmittance, anti-fog, anti-glare, anti-mist, waterproof, rainproof.
3.Just take a few minutes to install it to your Rearview Mirror directly, squirt a little water on the mirror, install the protective film to the mirror and adhere it, then flatten it with a small scraper, quick and easy.
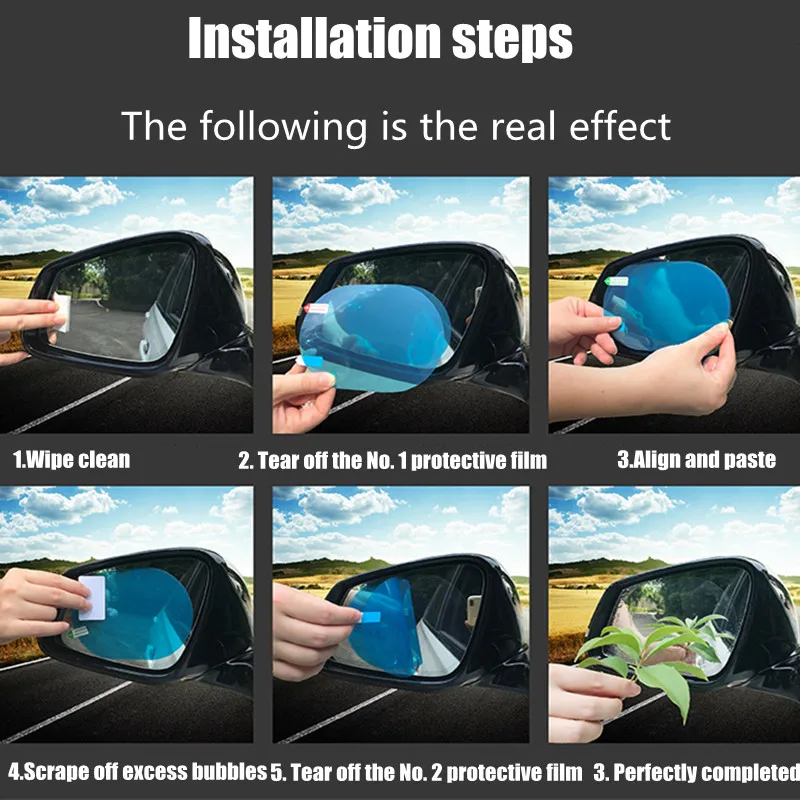
Installation instructions:
1. Clean your rearview mirror
2. Find the first layer of labels
3. Tear off No.1 label layer
4. Film the screen
5. If there are bubbles
6. Remove bubbles with a scraper
7. Remove No.2 label layer
8. Installation is completed
Please clean up the damaged parts and dry them before sticking them on.